Getting Started
Everything you need to get up and running
Setup Guide
Follow these steps to configure your account for the first time.
Welcome to Laddster! This guide will walk you through the initial setup to get your shipping workflow up and running.
Prerequisites
Laddster integrates with QuickBooks Online to streamline your shipping and order fulfillment. You'll need:
- An active QuickBooks Online account
- Admin access to connect the integration
- Invoices, Estimates, or Purchase Orders that you want to ship
Initial Setup Steps
Connect QuickBooks Online
Sign in with your QuickBooks account and authorize Laddster to access your invoices, estimates, and purchase orders.
Add Your First Shipping Location
Create a shipping location for your warehouse, office, or primary shipping address. Learn about shipping locations
Connect Carrier Accounts (Optional)
Link your USPS, UPS, FedEx, or other carrier accounts through Shippo to get rates and purchase labels. See carrier account setup
Configure Account Settings
Set your preferred units (imperial or metric), label format, and other preferences. Units and settings guide
Create Your First Shipment
Start shipping! Import an invoice or estimate from QuickBooks and create your first shipment. First shipment walkthrough
Your First Shipment
Create your first shipment step by step.
Ready to ship? This walkthrough will guide you through creating your first shipment from a QuickBooks invoice or estimate.
Step-by-Step Process
Select Ship Method
Choose between Parcel (for carrier labels through Shippo) or Freight (for manual confirmation). Parcel shipments can purchase labels and get tracking. Freight shipments can be confirmed as shipped in-app or by scanning a QR code.
Add Shipping Location
Select or create a shipping location—this is where you're shipping from (or shipping to for purchase orders). Learn about shipping locations
Set Ship Date (Optional)
Add the date you plan to ship. This is optional but helpful for scheduling and planning.

Enter Package Details
Add package dimensions (length, width, height) and weight. Consider creating package templates to save time on frequently used box sizes.

Get Rates or Confirm Shipped
For Shippo shipments: Click "Get Rates" to view available shipping options from your carriers, then select and purchase a label.
For Manual shipments: Click "Confirm Shipped" once the shipment has left your facility.
Download Your Documents
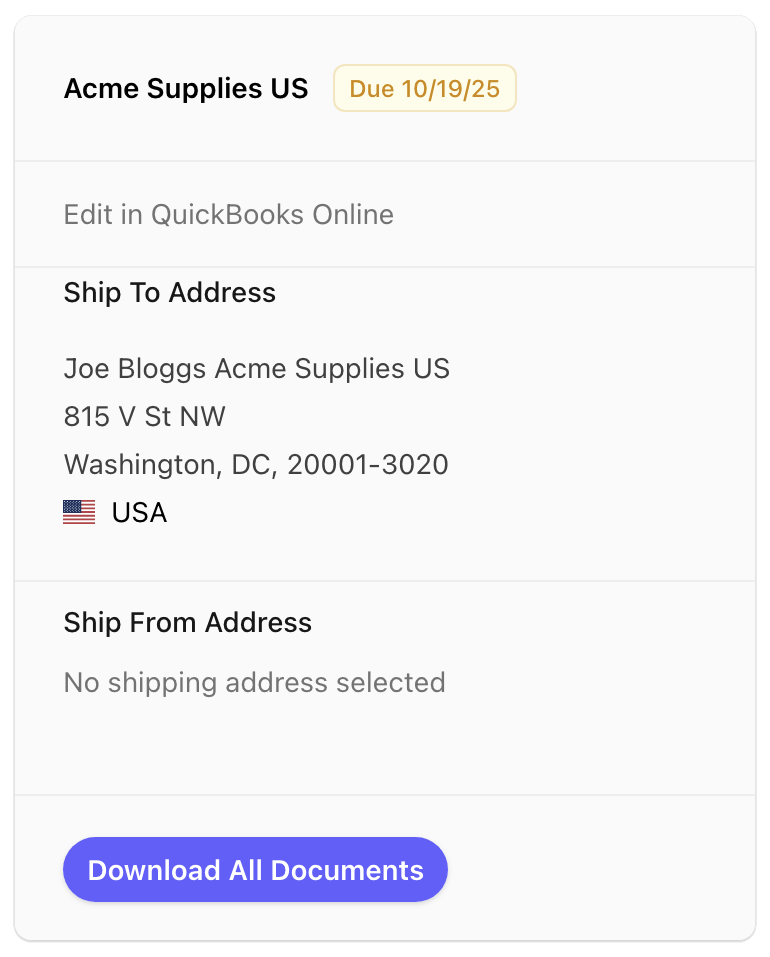
- Click "Download All" for a zip file with your shipping labels and packing list PDF(s)
- Freight shipments generate a "shipping request spreadsheet" with lading information
- Freight packing lists have an optional QR code that can be scanned to confirm the shipment as picked up
Next Steps
- How to split an order into multiple shipments
- How to ship multiple packages
- Understanding the Kanban board
Your First International Shipment
International shipments require customs information on all line items.
International shipments require additional customs information for all line items. This guide will help you prepare your first international shipment.
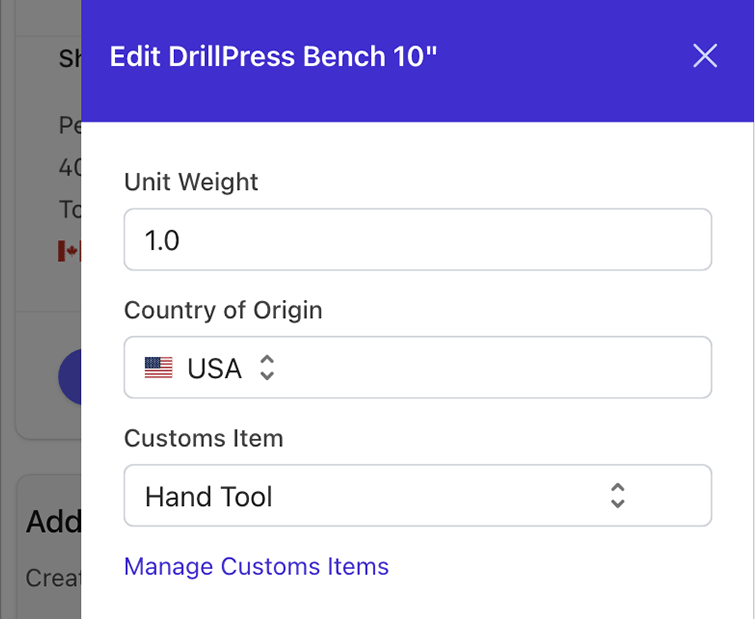
Required Information for Each Line Item

Add Unit Weight
Enter the weight per unit for each line item. This is used to calculate the total weight of your shipment and is required for customs declarations.
Set Country of Origin
Select where the item was manufactured or produced. This should be listed on the product itself or available from your vendor.
Assign Customs Item
Link each line item to a customs item template that includes the HS code, description, and other customs details. Learn about customs items and create them if none exist yet.
International Documents
International shipments generate additional customs documentation:
- Click "Download All" for a zip file with your shipping labels, packing lists, and commercial invoices
- Commercial invoices include all customs item details required by customs authorities
- These documents must accompany your shipment
Additional Resources
Frequently asked questions and helpful links.
Helpful links and resources for common questions and next steps in your shipping workflow.
Common Tasks
Create saved addresses for warehouses, stores, or suppliers to streamline shipment creation.
Connect Additional Carrier Accounts
Link more carriers (USPS, UPS, FedEx, etc.) to get more rate options and shipping flexibility.
Save frequently used box dimensions for faster package setup.
Split Orders into Multiple Shipments
Ship items at different times or from different locations by splitting line items across shipments.
Split Line Items Across Packages
Distribute quantities of a single line item across multiple packages or shipments.